Question: I can’t find where I could add a photo mat. I see customized special mats but I simply want to accent a color on the page with adding color around the photos on the page. Can you point me in the right direction?
Answer: Yes, absolutely!
(These captures were made using Artisan 5.)
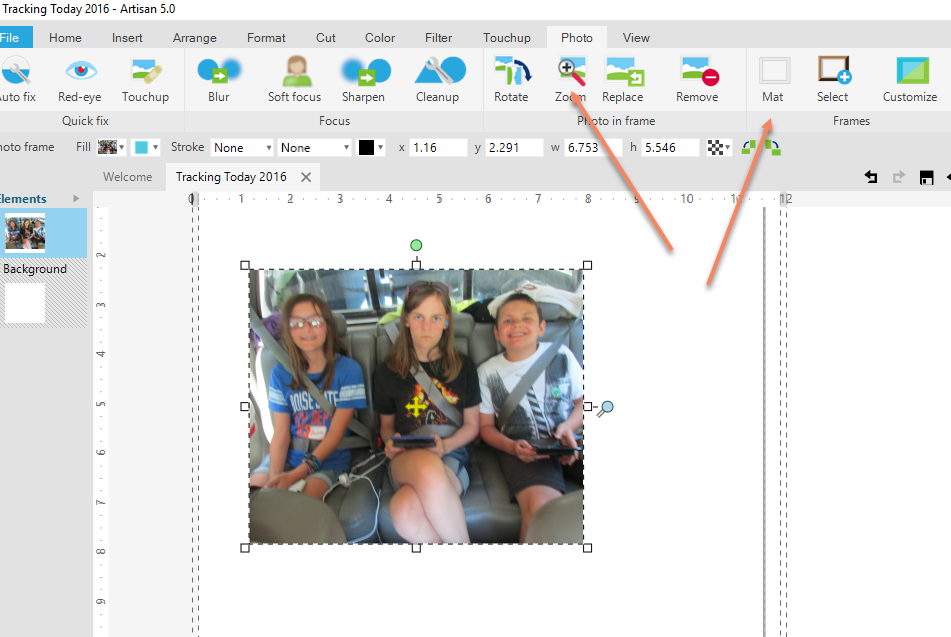
You first want to select your photo and then go to the Photo tab on top.
Making sure the photo (or photos) you want to mat are selected, click on the Mat icon on the right side of the ribbon.
This opens up a side panel so you can select the options you want for your mat. At the top of the list is the style of mat.
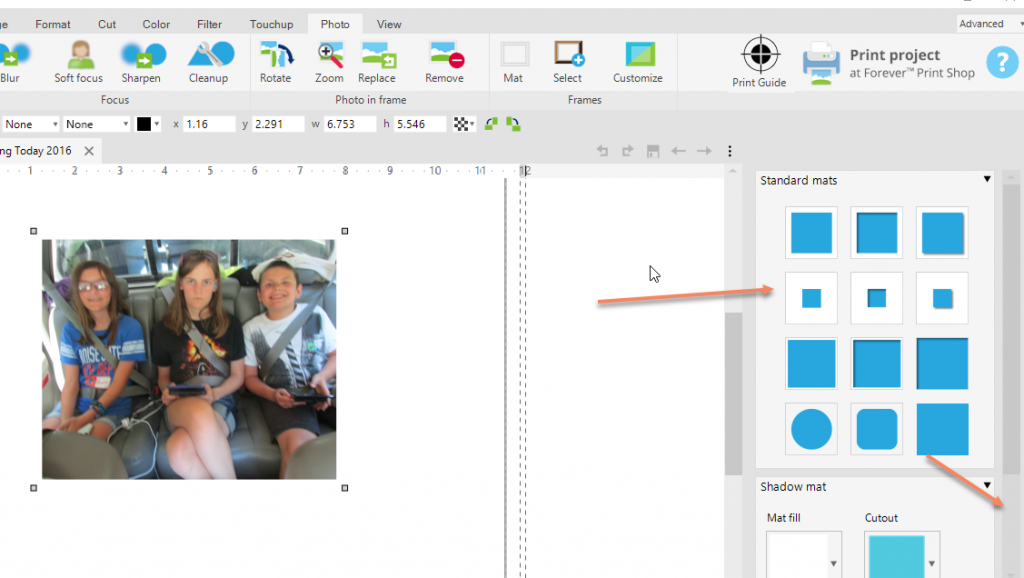 You can actually click different ones and you should be able to preview what it will look like. Nothing is set until you hit Ok at the bottom.
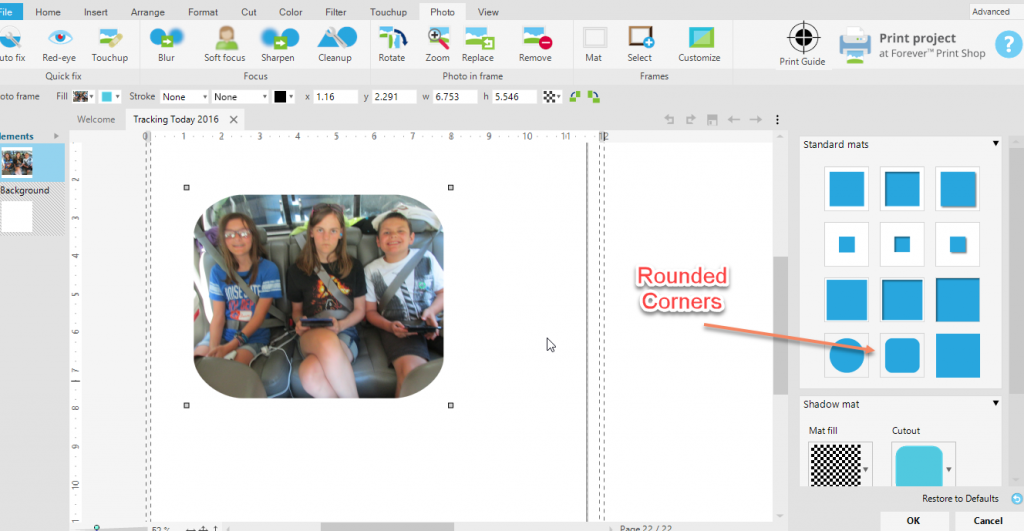
You can even change the shape of your photo using this tool.
When you’ve selected the style, be sure to scroll down. This lets you select the color or paper you want to use for a mat (Mat Fill).
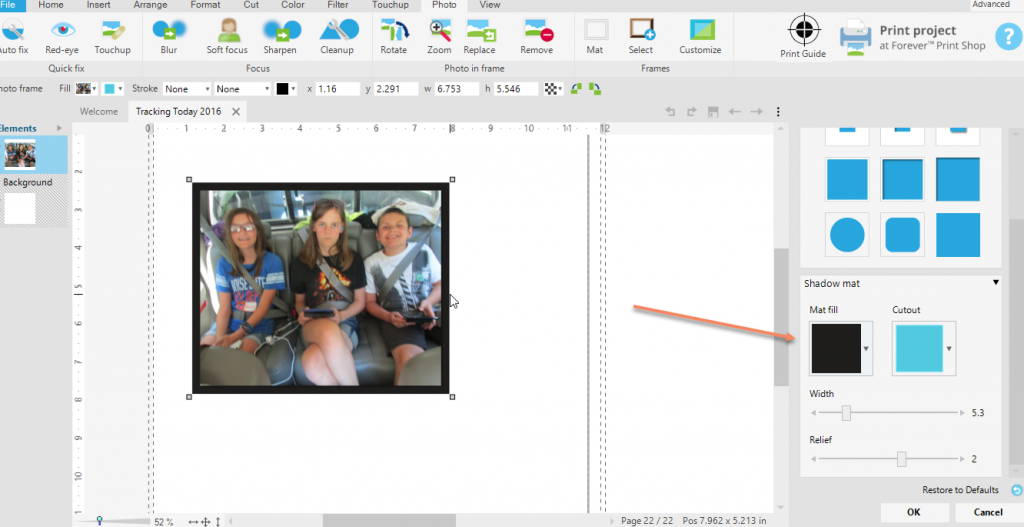
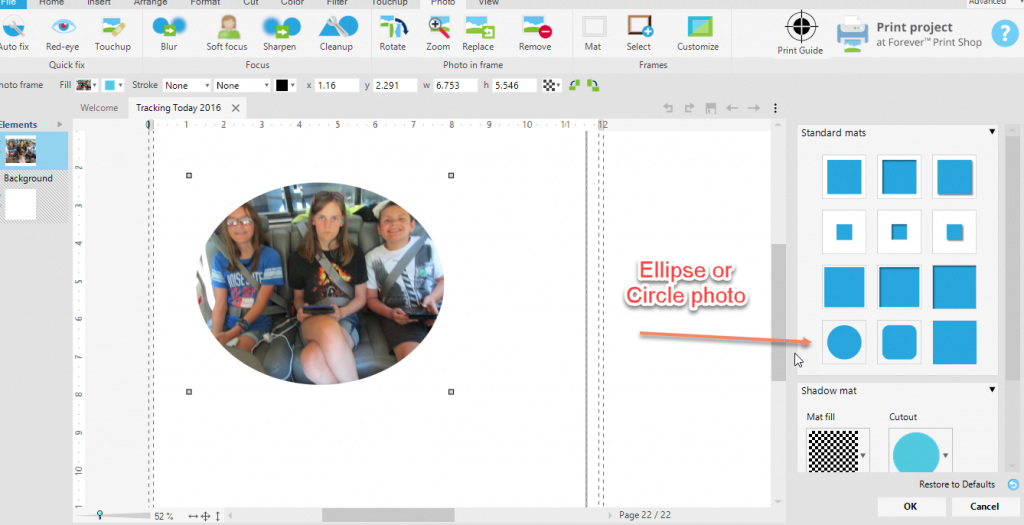
Here also, you can select a shaped mat with the Cutout dropdown. If you just want a traditional mat, once you’ve selected the Mat fill you want, you can adjust the width and the relief with the sliders and preview it on the screen.
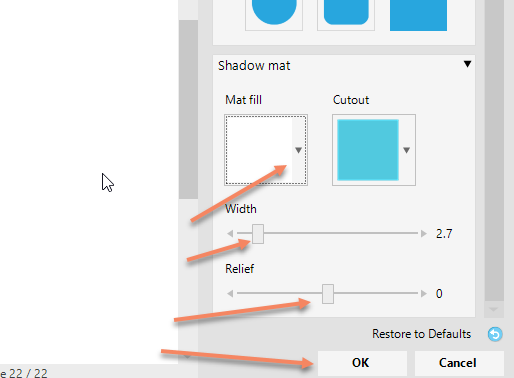
When you have it the way you like it, click ok. If you want all of the mats on the page to be the same, be sure to select each of the photos and you can apply this to all of them at the same time.
Very cool tool …