
In the past few years, those of us who have used Artisan since it was Storybook Creator have been silently (and sometimes not so silently) wishing that it were possible to get the digital artwork for the papers and embellishments that the new CM is producing.
Now, the new CM has finally just begun to offer limited-time digital artwork related to their traditional scrapbooking lines. Woohoo!
Let me be clear for those of you who are used to how the “old” CM worked. The new CM and Forever (the company who makes Artisan software) are still two different companies. What this means is that the artwork offered by the new CM is not made specifically for Artisan, or any other software, for that matter. The content types are universal (CM releases its artwork in .png or .jpg format) so you can use it in Artisan, Photoshop or pretty much any software you want.
Because I think Artisan is completely awesome (yeah, I’m biased), I still prefer doing my digital scrapbooking with Artisan. So today I want to show you how to use this new CM artwork in Artisan 5.
Where to get the new CM digital artwork
The new CM is located at www.creativememories.com. (If you do not have a CM advisor, this is my advisor link. If you do have an advisor, please just make sure your advisor’s name and information pop up when you go to checkout.)
Here’s one thing to remember: if you purchase CM’s digital content, you only have a limited time frame to purchase and download it. So you want to keep it stored somewhere as a backup, just in case.
Now to the how-to:
If you’ve ever imported a personal art kit, this is pretty much the same thing. But first things first:
When you first order your CM Digital Content, you’ll proceed through the normal checkout process and then get to the Thank You page and think, “What? Where’s my download link?”
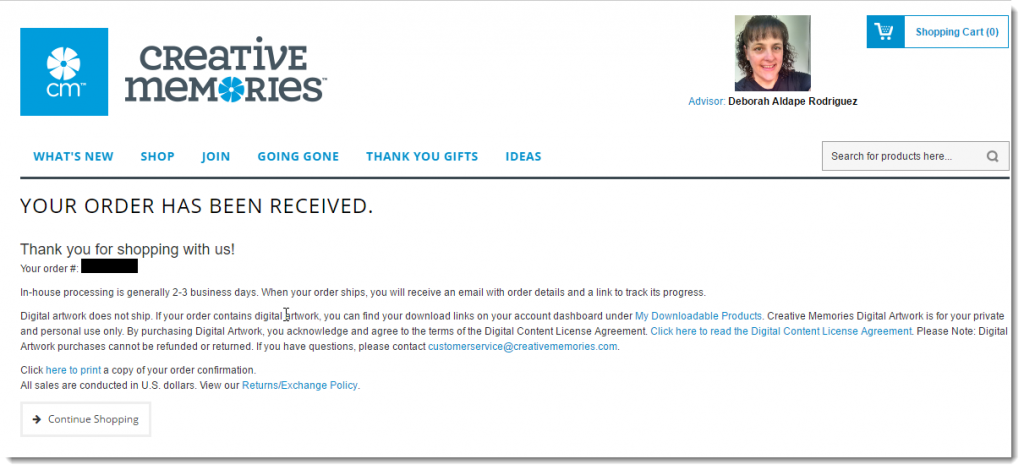
If you notice, in that second paragraph, it tells you that you need to look under your Account Dashboard in My Downloadable Products to find the CM Digital Content you just purchased. Don’t worry, it’s there.
Once you download your content from CM, you’ll download it as a .zip file. For most folks, you can just right click on the .zip file and select Extract All to open it for use. (This is not a step you can skip.)
I purchased two of the Christmas Past artwork packages from CM. Now that I have those folders unzipped, it’s pretty simple to import them into Artisan.
Start by opening Artisan and then click the Manage Content icon on top.
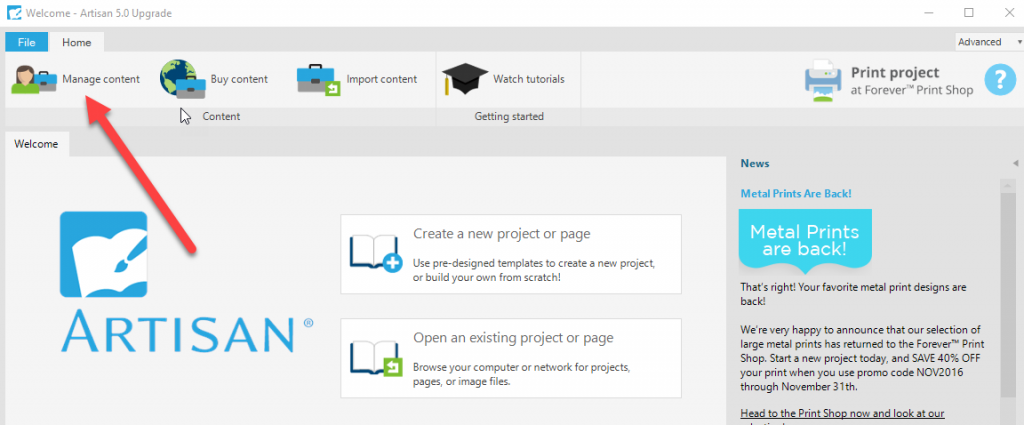
This will bring you to your Content Manager screen. Once here, click on Create art kit.
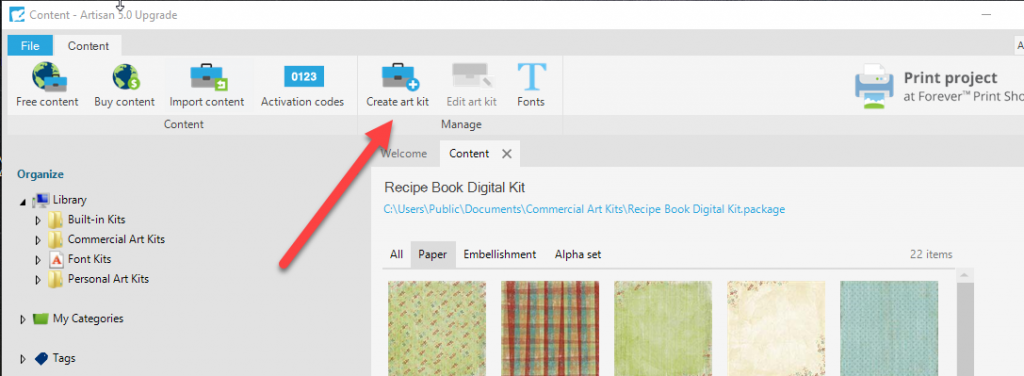
You’ll see a box pop allowing you to choose whether this is a Personal art kit or a Commercial art kit. Although this IS commercial content, if you choose that option, it will only let you bring in a Forever art kit. Since this content isn’t packaged that way, you need to choose Personal art kit.
Now that you’ve done that, you’ll see a box allowing you to name your new Personal art kit.
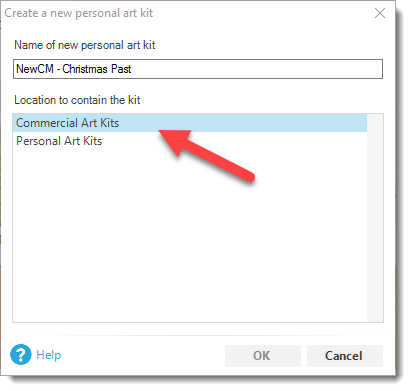
I choose to store mine with my Commercial art kits (meaning that’s where Artisan will look for it) so that i can back it up with my Commercial content. In my experience, it’s dangerous to have your content in too many locations because it’s easy to break the link and Artisan won’t find it.
I chose to name mine starting with “NewCM” and then the name of the content so I can find it in my (massive) content list.
In most cases, there are two main types of content: digital papers and digital embellishments. On rare occasions there will be Shapes, Edges, etc., but not in today’s example.
I like to start with importing the Digital Papers. To do this, click on the Paper icon on the top left menu.
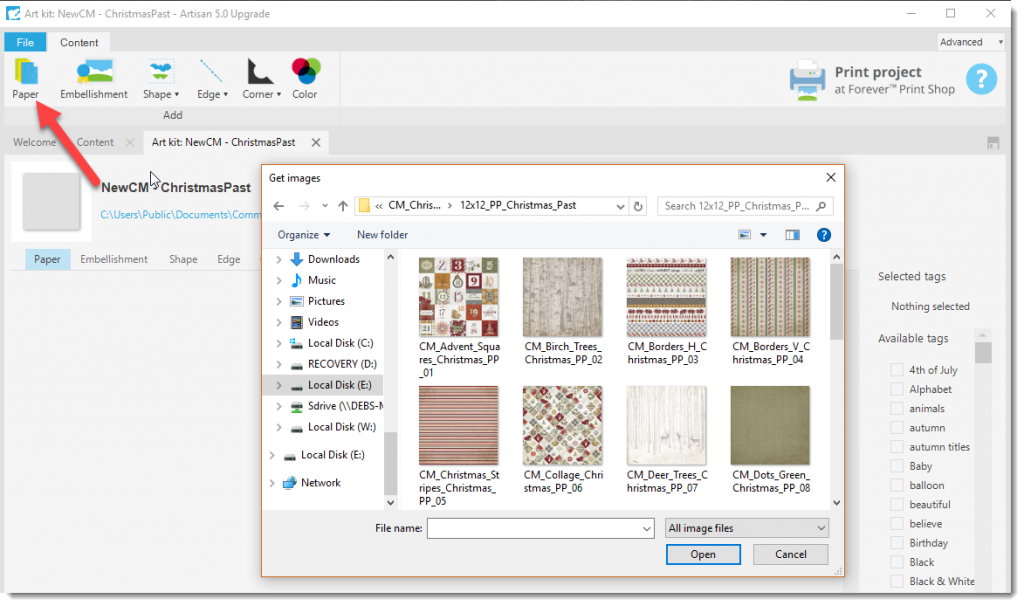
A dialog box will appear allowing you to browse to where the Digital Papers are located that you want to import. You can select the first one and either do ctrl+A to select all of the papers in the current folder, or you can select the first Paper and then hold down Shift and select the last Paper to just catch a group. Either way, you can import multiple papers at one time by selecting the ones you want and then clicking Open.
This will populate the Content screen with the Digital Papers you just selected.
Now, to import the Embellishments (including photo mats, word art, and other digital “stickers”), you will do the same process. Click on the Embellishment icon on the top menu bar and the same dialog box will open.
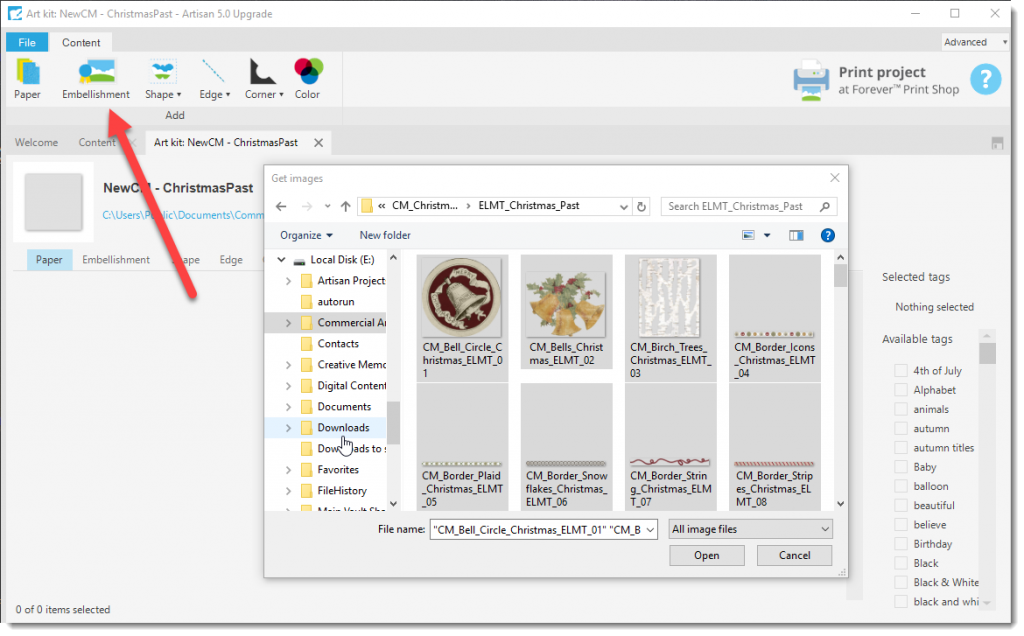
Usually there are more embellishments than papers to import, so the list of items you select will probably be bigger.
Once you have them all selected, go ahead and click on Open and they will also populate in the Content screen.
The last thing you want to make sure you do before you finish is tag the artwork so you can find it in a search. (Artisan content is pre-tagged for you, but when you create your own art kits, you have to do the work for yourself.)
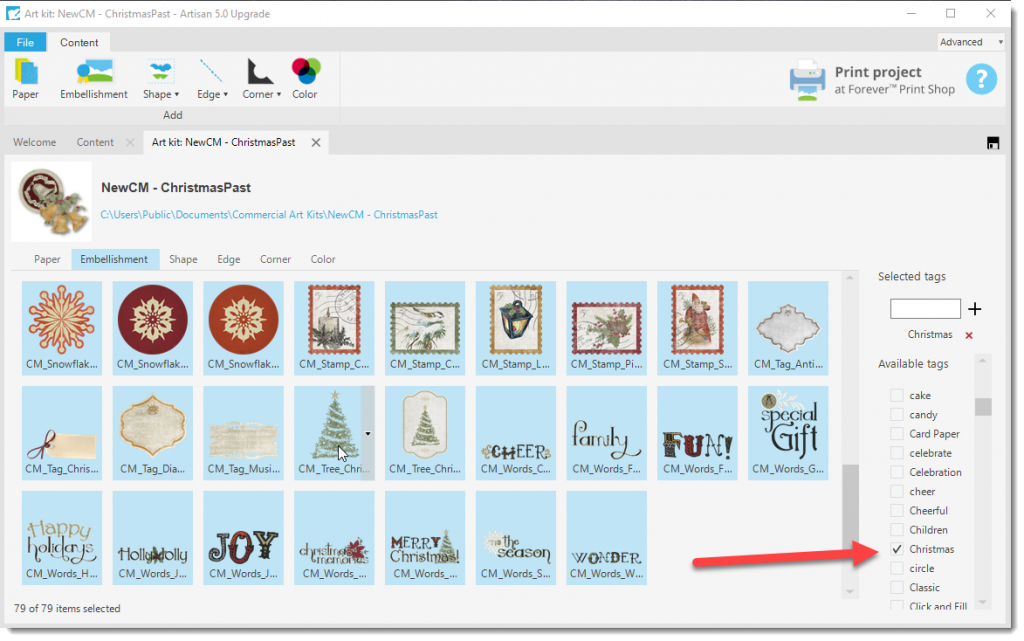
In this case, since the artwork was all Christmas related, I just selected all of it (by selecting the first element and then scrolling to the bottom, holding down the Shift key, and then selecting the last element), and then I chose the “Christmas” tag from the list on the right. You can also select groups of elements, like word art, and tag them as well. This part of the process should only take a couple of minutes, depending on how detailed you are with your tagging.
That’s really all there is to it! This same process works with content from other vendors, as well. I personally subscribe to The Daily Digi because I love the things they share, and they give a great deal on artwork.
I am currently sorting through all my content in Artisan 5.
I would like to correct spellings of some of the tags I made for the content. Is there a way to do this or delete the name of the tag all together? (ie. I have buttons and button would like to just have one so they don’t end up in 2 places.)
Thanks
Hi, Mendy.
I am SO glad you asked that question. There is a pretty simple way to do both. This is something I’ve been meaning to do, too.
It’s hard for me to post the whole process right here, so this is what I’ll do. I will make a how-to with screenshots and get it posted tonight. And then I’ll come back and give you the direct link.
Thanks for asking!
~ Deb
Mendy,
Here is the link to the post I just put up showing how to clean up your tags. Hope this helps!
https://debsdigitaltips.com/how-to-clean-up-content-tags-in-artisan/
~ Deb