This is something I've been asked by several Storybook Creator Plus users after upgrading to 3.0. Suddenly, where we were able to treat photo mats and other Shapes like photos in the original version by applying Edges, now in the 3.0 Upgrade the Edges are only able to be applied to photos.
I have to admit, that was a bit of a disappointment to me when I first figured it out because I like to put edges on the mats that I put behind my text boxes.
Well, I found at least a partial solution. Here it is: Some of that functionality, for objects, is buried under Filters now.
So, select your object, click on the Format tab, and select Filter.
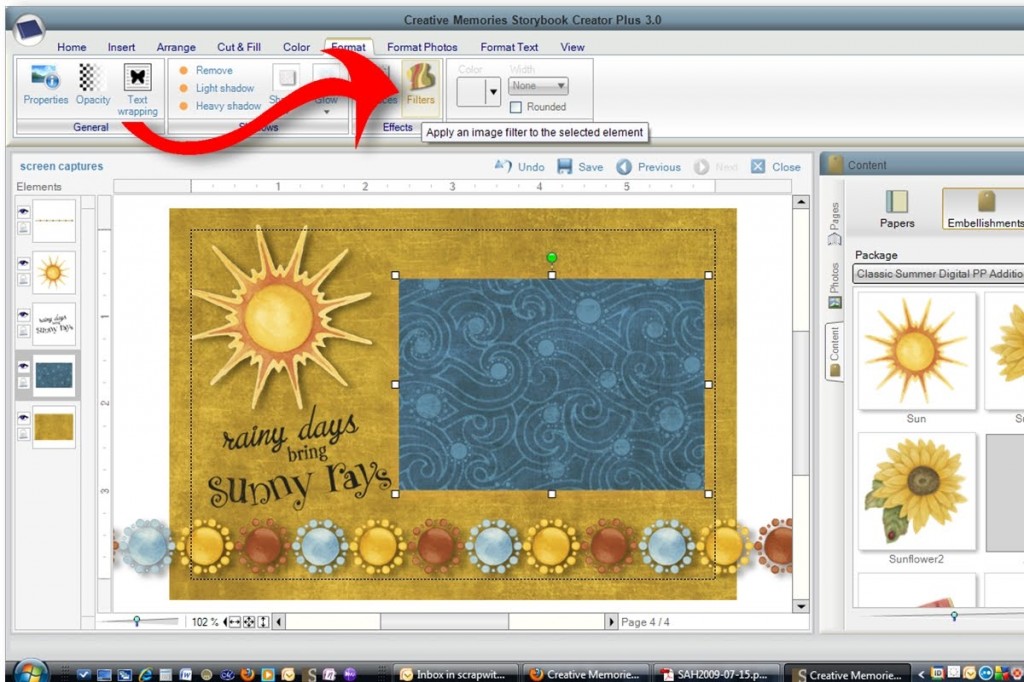
(Right click on the photo and View Image to enlarge it)
The Filters dialog box opens and you'll have lots of options to play with. Take time and don't get in a hurry. There are some fun things here, but once you apply one, you almost need to hit the Cancel box and open it all again to see the next one unless you want a more cumulative effect.
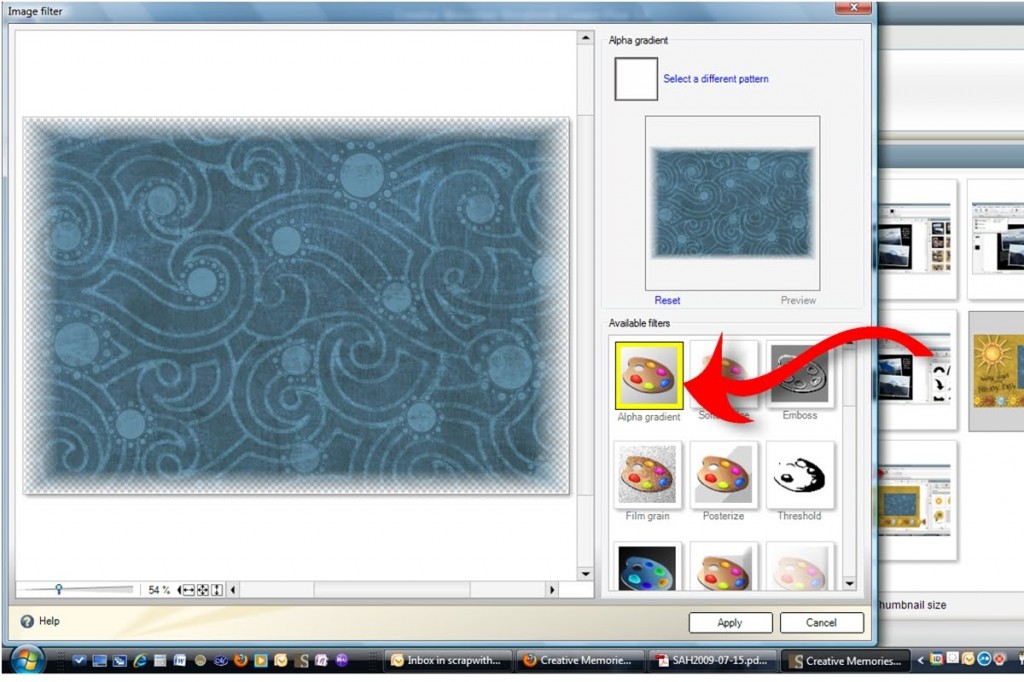
The Alpha Gradient filter is similar to the first Edge selection that was available in Storybook Creator Plus 2.0. I used this one quite often.
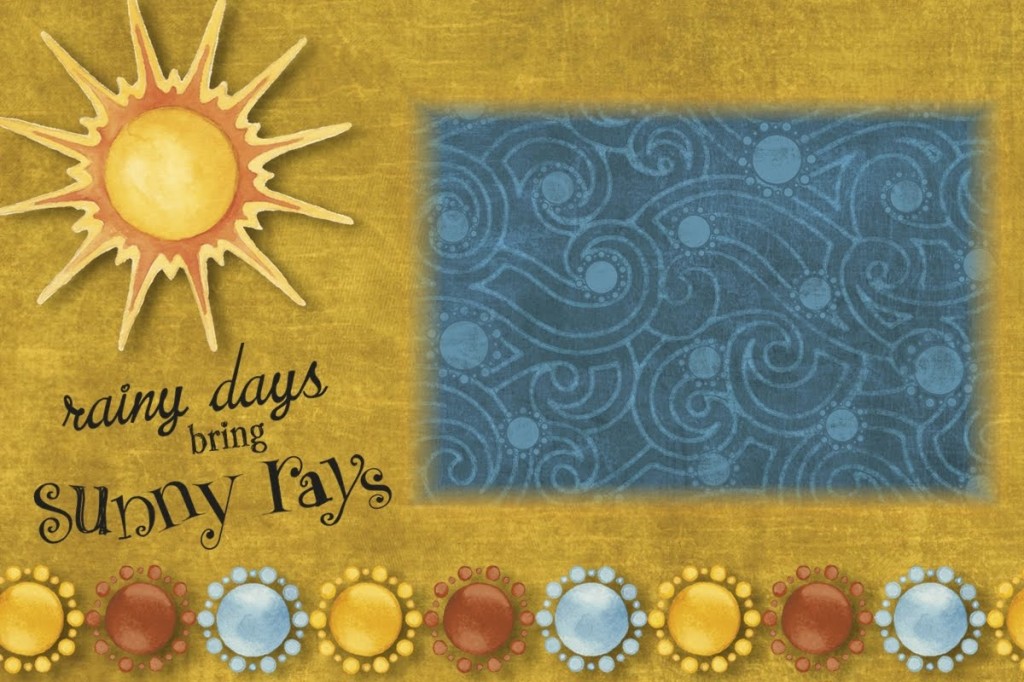
This is the end effect of using the Alpha Gradient filter. You can increase the width of the filter or decrease it, and apply several other parameters.
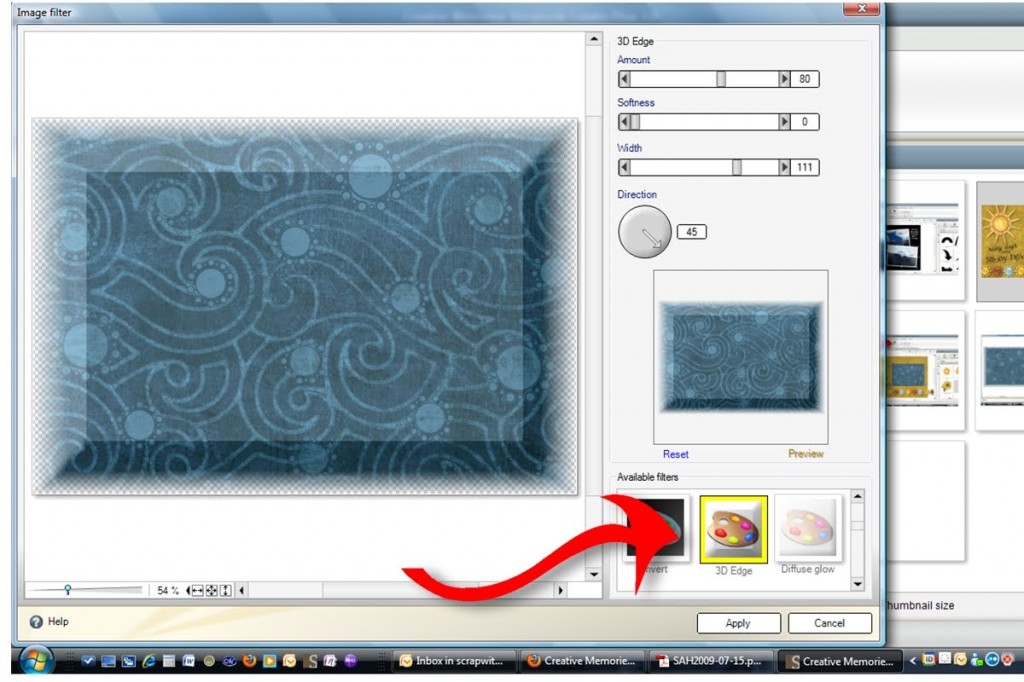
Of course, there are quite a few filters that weren't possibilities in the former version. This is the 3D Edge (see, they're admitting it's an Edge),
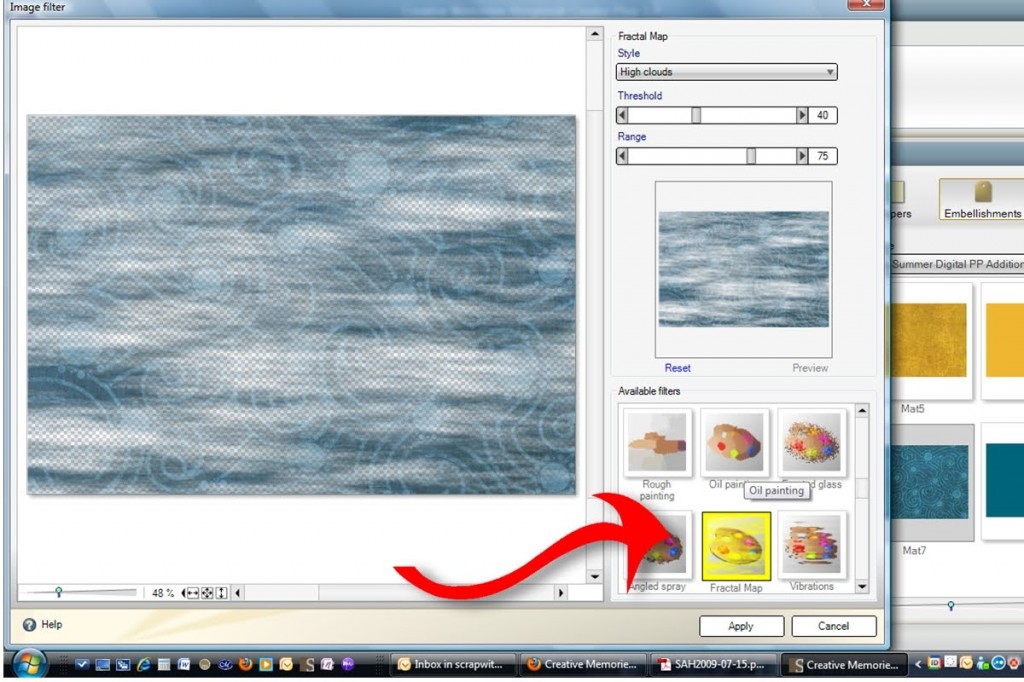
and this one is called Fractal Map.
This is what I mean. Just play around with the options and get those creative juices flowing. I'm sure you can come up with better possibilities than I have. I'd love to see them when you do … please share!
