Panic attack! My daughter rushed into the kitchen as I was making dinner tonight and told me that we forgot to get her Valentine's cards to pass out at school on Monday.
I told her, “Don't worry. I'm working on them.”
So, here's the easy solution for cute Valentine's cards to hand out at school. This is the second year I'm doing it this way.
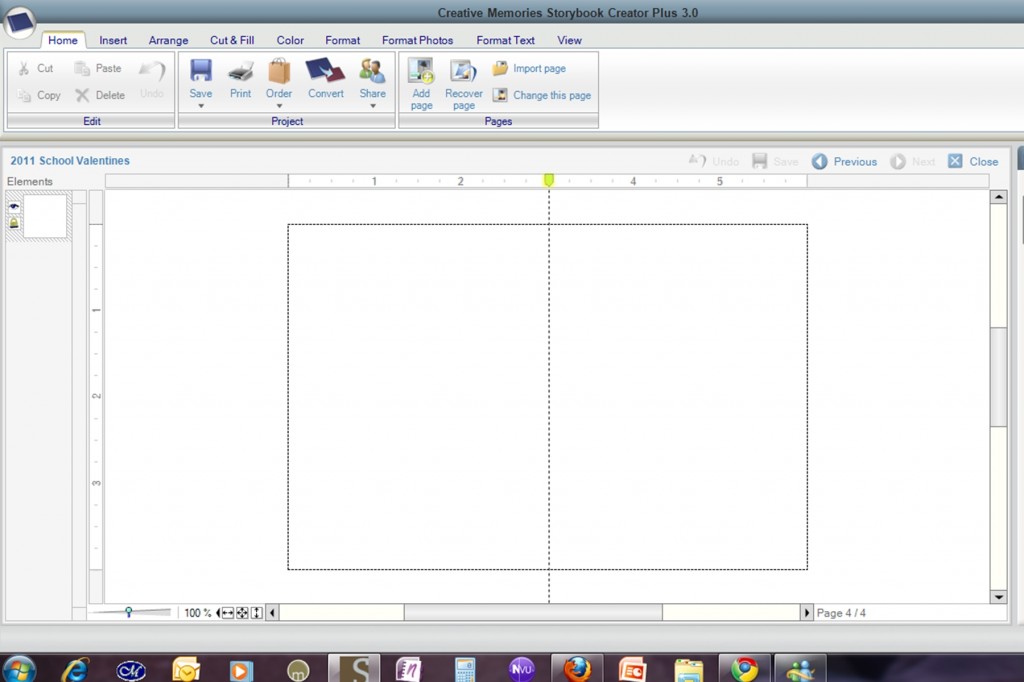
Here's what I've done: I start a new Custom 4×6 project in Storybook Creator Plus 3.0 (landscape or portrait – it's up to you). Just choose a blank option for now.
Once I've got the project open, I start out by dropping a guide in the middle of the project to visually cut it in half. (Because eventually I'm literally going to cut this 4×6 card in half to make two out of each photo.)
Now, just like any other freehand Storybook project, it's time to pick papers and embellishments to accent the page. The purpose for the guide is to visually divide the surface so that you can work with just one side. (We'll then duplicate it and drop it on the other side when we're done.)
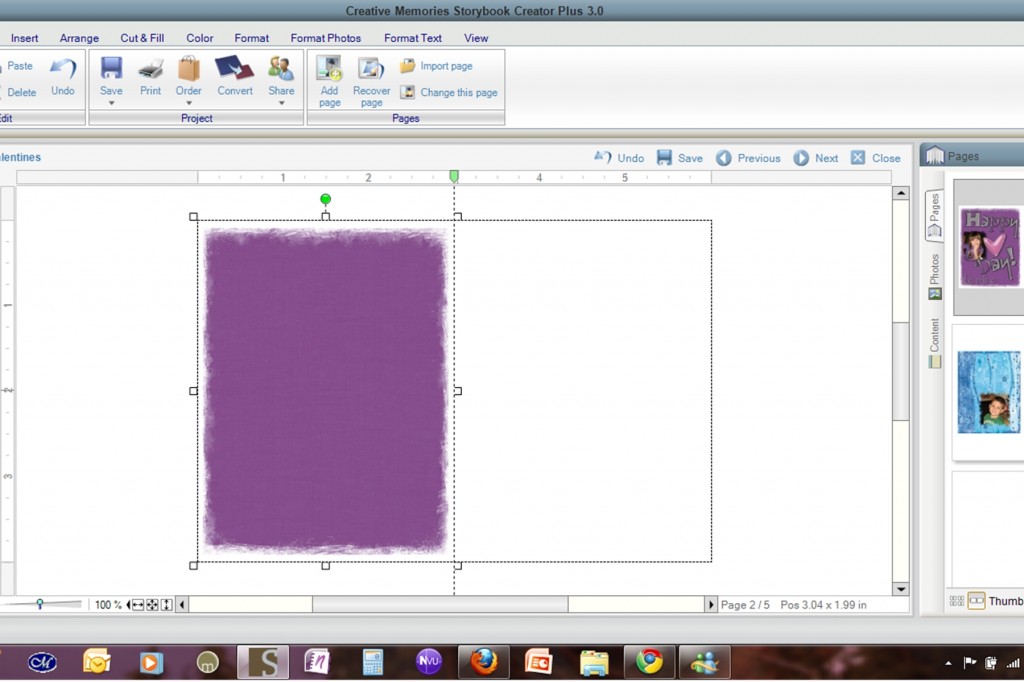
So, to begin with, I chose a paper from the Simply Beautiful digital power palette. One of my daughters is a purple fanatic, so it's only fitting that her card will have a purple background. I right click on the paper and choose Add to page. Then I position the paper on one side of the project, hold down the Shift key and drag the side so that it fits within the designated space.
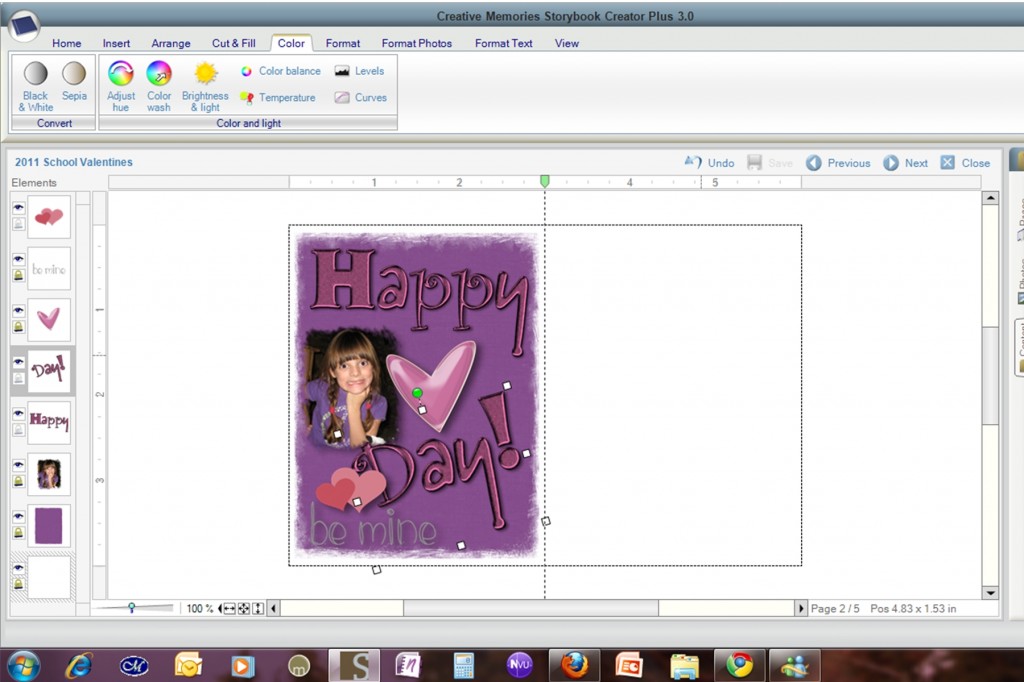
Now I have the basis for a single card. I'll add a photo and some embellishments*, and voila!
Now, for the last step, all you have to do is make sure that none of the elements on the card are locked (with the little gold padlock icon next to the item in the Elements list). Click on one element, then hold down the Ctrl key and type A. This should select all of the elements in your project. (If it doesn't, check for the lock and try again.)
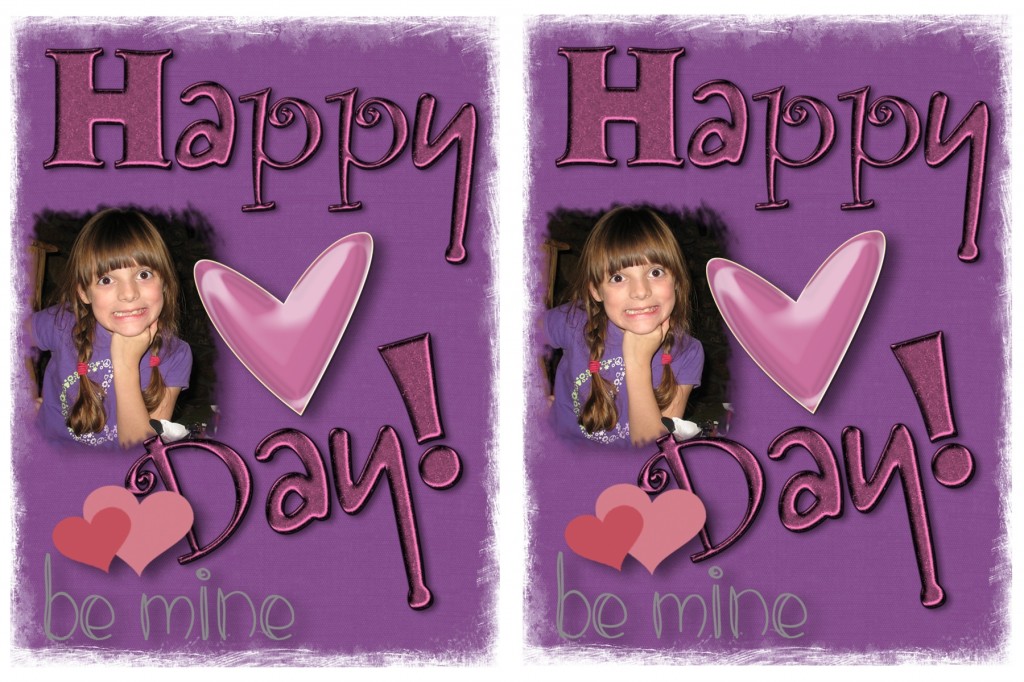
Now, if you go to the Home tab, click on Copy. Then click on the blank side of the project (to deselect everything) and click on Paste. The result? You'll get a copy of everything in your project centered in the middle of the page. Keeping it all selected, you can click and drag everything until it is lined up on the other side.
Now just do a Save pages as and create a .jpg, then upload it like any other 4×6 photo to your favorite photo printer. When you get them back, cut them in half and add candy. Enjoy!
* Items used: Simply Beautiful Paper 39, Celebration Digital Alpha Set, With Love Digital Kit, and Be Mine Digital Addition.


